Click below for a full screen walkthrough video.
▶️ Creating a Phishing Training Campaign by Department
It is REQUIRED to create Google or Microsoft Groups IF you want to assign email templates based on the following teams: Administrative Staff, Finance, Human Resources, Student Services, Teaching Staff, and Technology. Otherwise the general templates can be used for any user.
1. Login to CyberNut at http://admin.cybernut.com
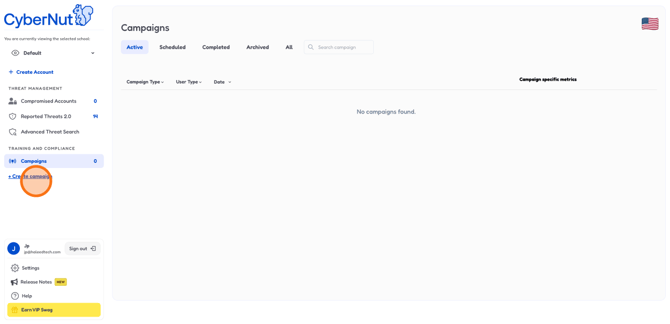
2. Start by clicking "+ Create campaign" to get rolling.
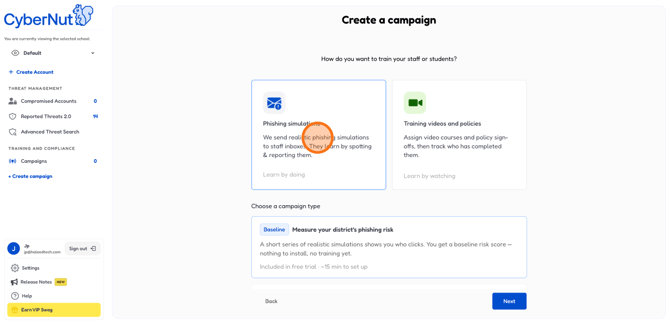
3. Select the phishing simulation option—this sends realistic test emails to your team.
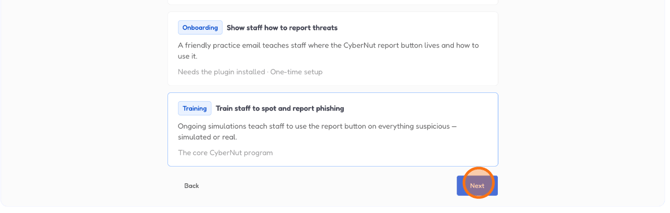
4. Click the Training Campaign. This can also include the Onboarding campaign during setup.
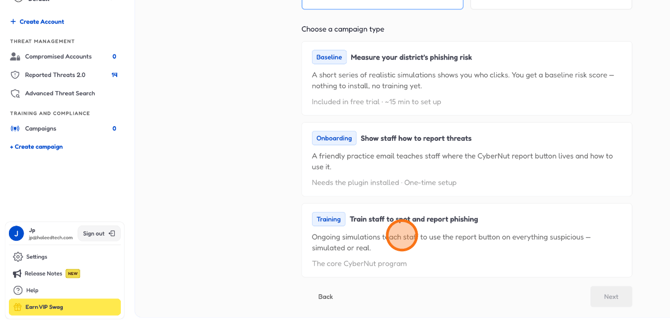
5. Click "Next" to move forward.
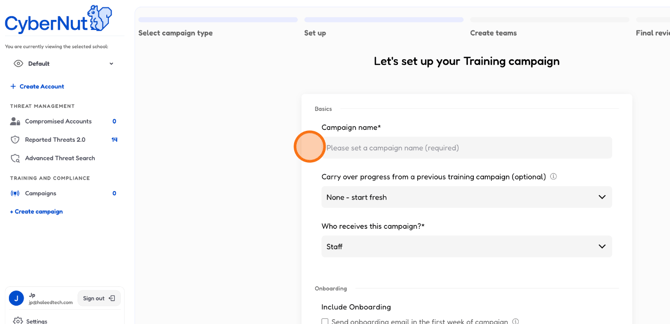
6. Give your campaign a name—something you'll recognize later.
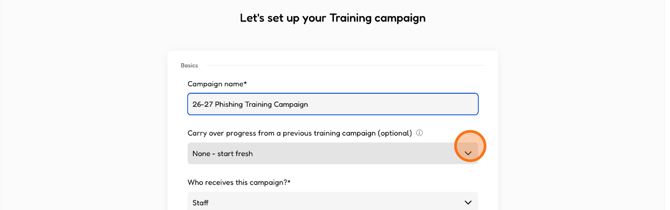
7. Click here if you want to carry over progress from a previous campaign including those completing onboarding and teams you may have created before.
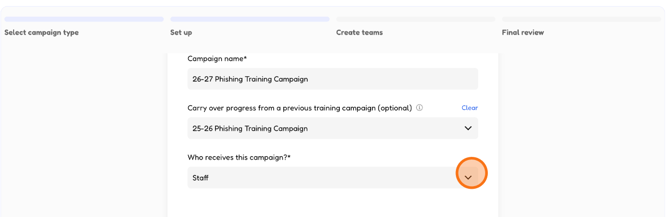
8. Select Staff or Students as your target group.
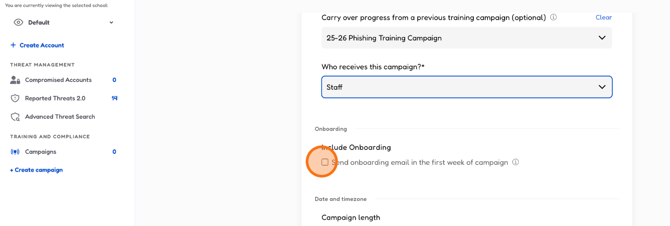
9. If you want to including onboarding in this campaign check the box to send a email to users once the campaign begins.
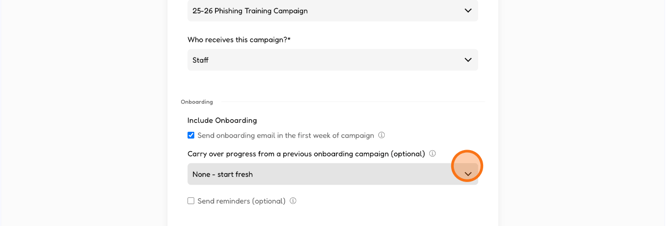
10. Click here if you want to carry over progress for onboarding in a previous campaign.
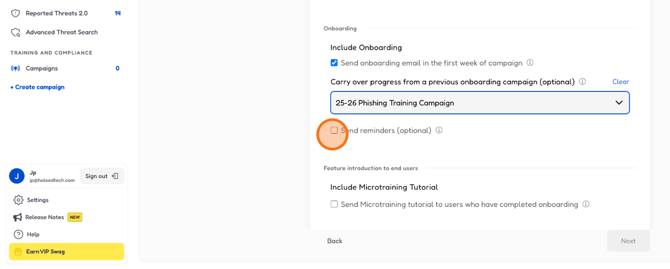
11. Check the box if you want to send reminders to anyone that does not complete the onboarding on time.
12. Type how many days you will allow to complete the onboarding.
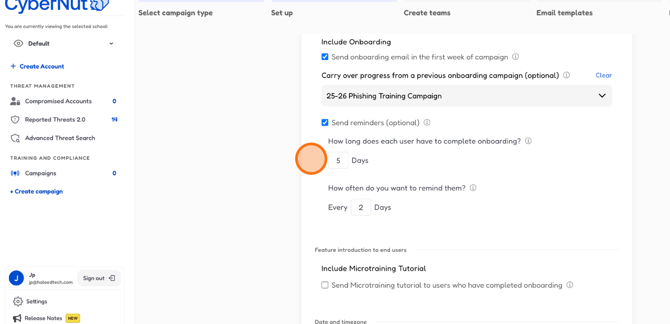
13. Type how often you want reminders to be sent.
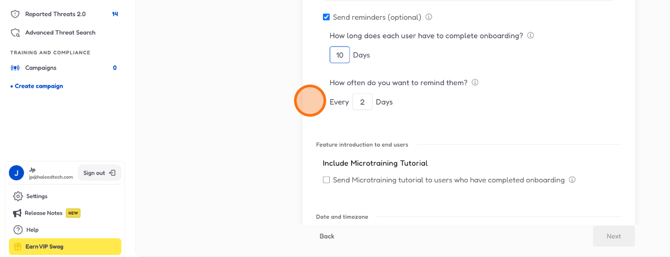
14. Click the "Start" field to set your launch date.
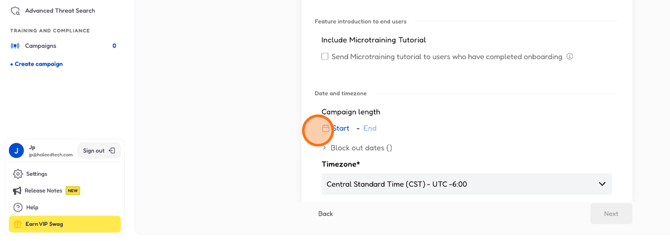
15. Select a date.
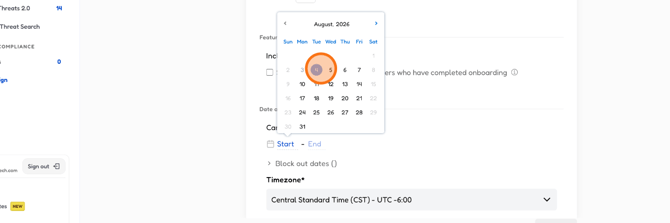
16. Click the "End" field to set when it wraps up.
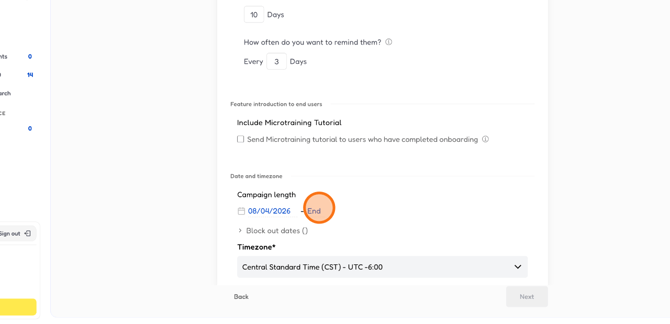
17. Select an end date.
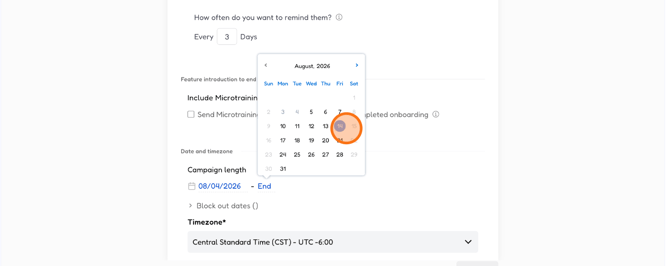
18. Click the "Timezone" field to set your time zone.
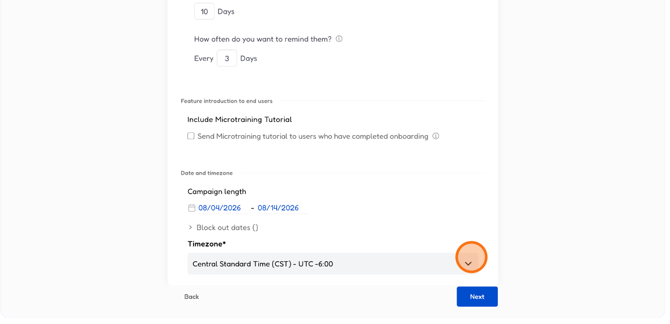
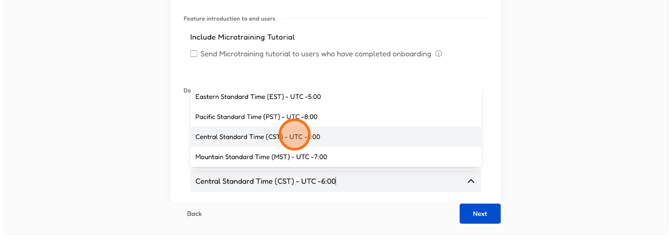
19. Select the timezone from the list.
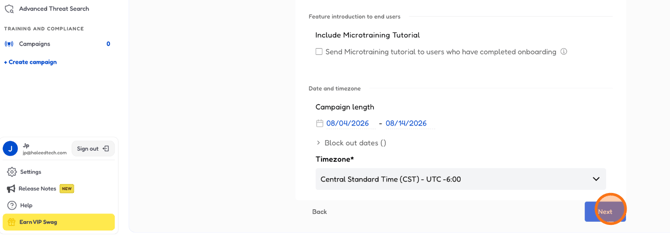
20. Click "Next" to move to team setup.
21. What are teams?
We provide additional email templates for departments: Administrative Staff, Finance, Human Resources, Student Services, Teaching Staff, and Technology. If you are going to use department specific templates, you need to create Google or Microsoft Groups before creating the team in CyberNut.
22. Click "Create a team" to organize your recipients.
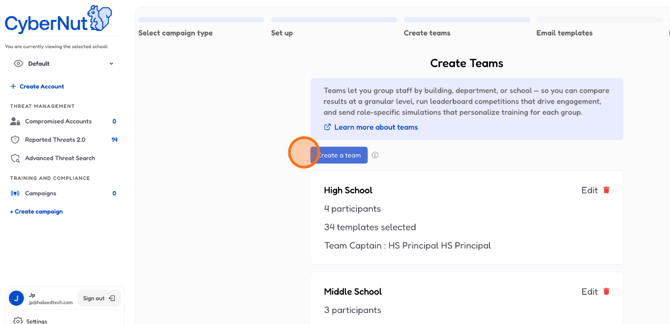
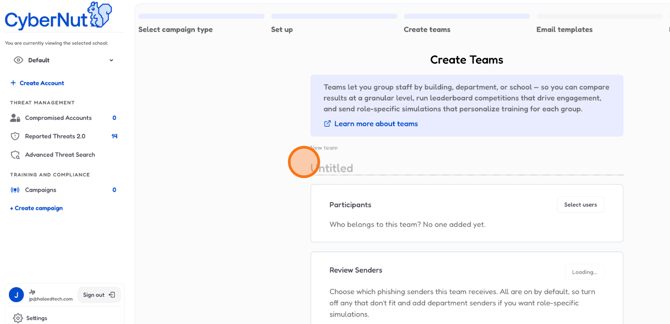
23. Click the "Untitled" field and give your team a name.
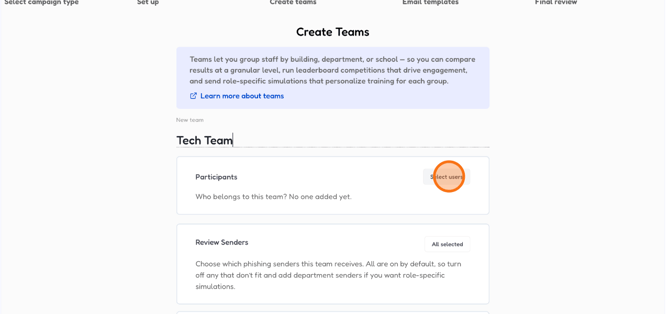
24. Click "Select users" to add people to this team.
25. Search for a user group here.
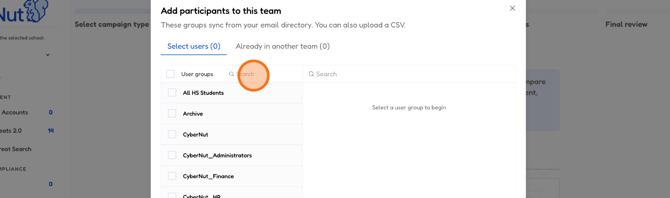
26. Choose your user group here.
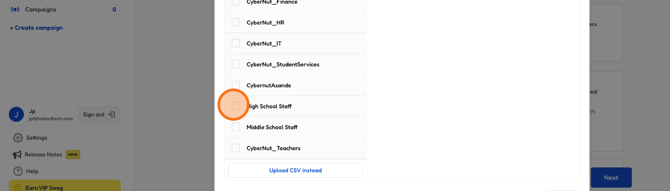
27. Search and select your individuals in this area.
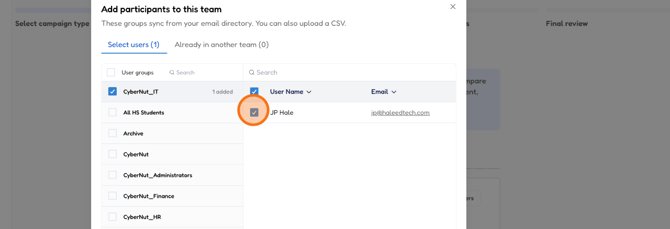
28. Click "Next" once your team is ready.
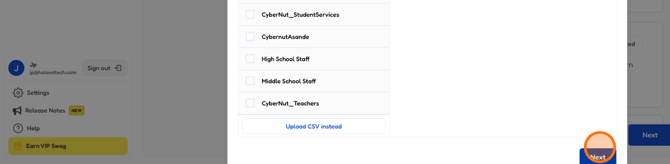
29. Click "All selected" to pick all available templates.
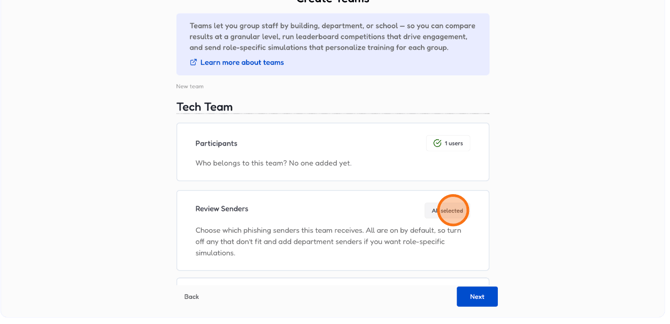
30. Expand a category to preview templates or toggle them off as needed.
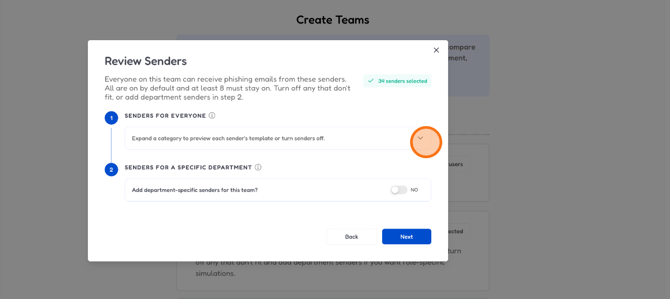
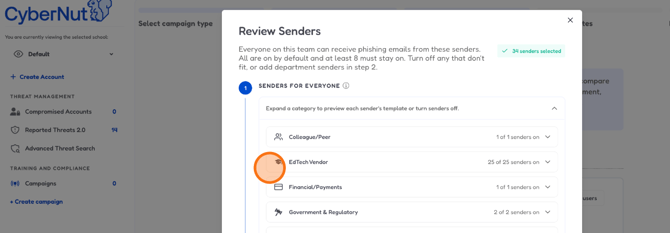
31. Click "EdTech Vendor" to see those 25 sender templates.
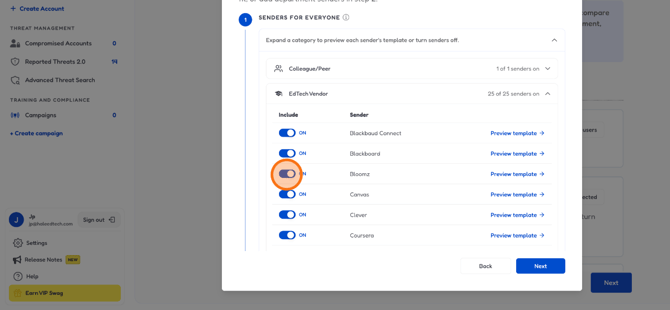
32. Click the button to toggle this sender.
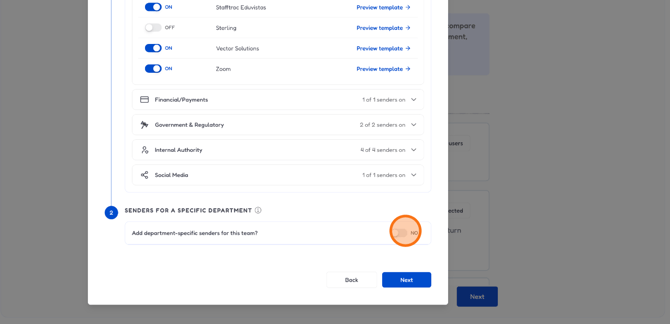
33. Enable this option to view specific email templates for departments. This is optional.
34. Click the specific department for more targeted emails..
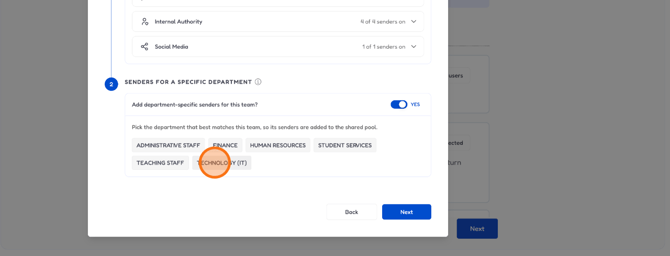
35. Click "Next" to keep things moving.
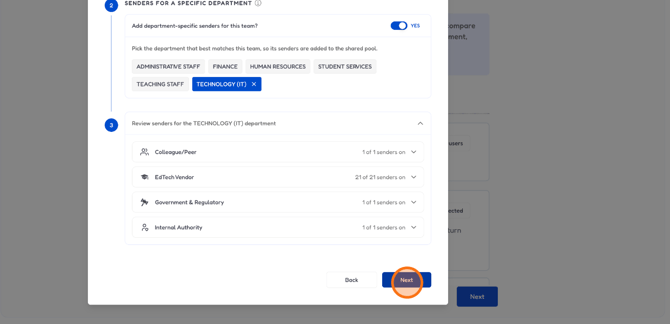
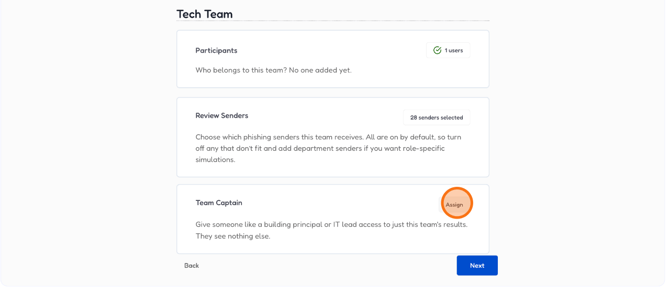
36. Click "Assign" if you want to give access to someone to monitor only the learning portion of Cybernut for this group only. Be sure to also add this person to your Single Sign on group.
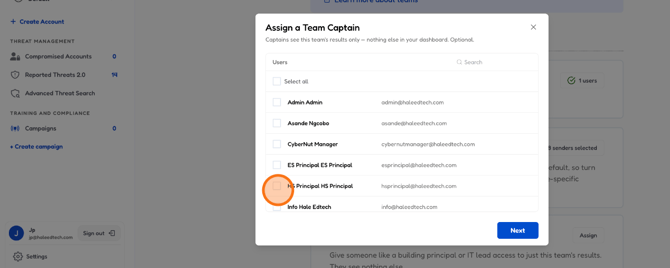
37. Select the user that will be the Team Captain.
38. Click "Next" to advance.
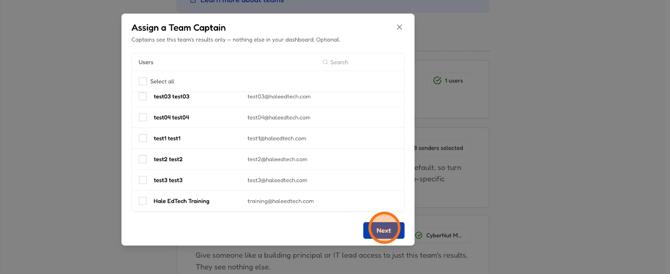
39. Click "Next" to continue the setup.
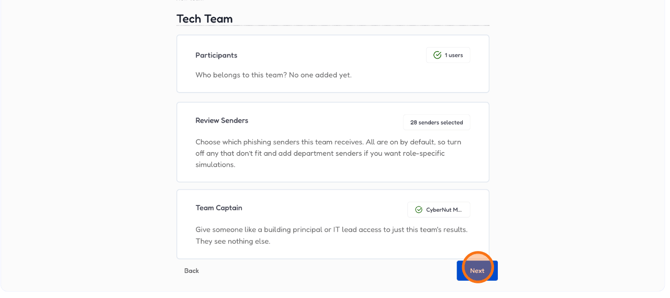
40. If you have any existing teams to updated, click "Edit".
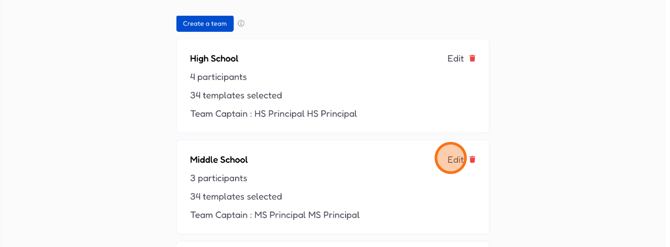
41. Click "users" to review who's in this group.
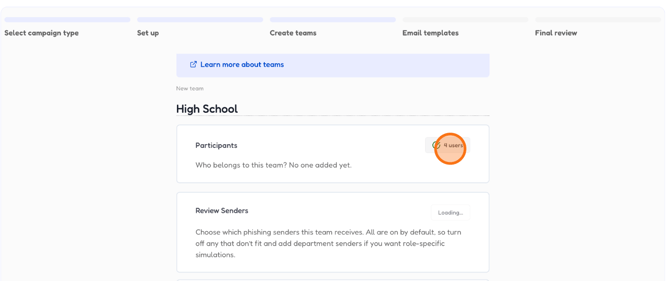
42. Select "High School Staff" as your team.
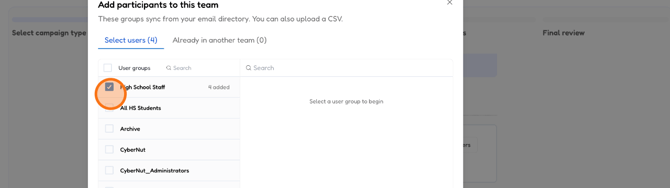
43. Choose your preference here.
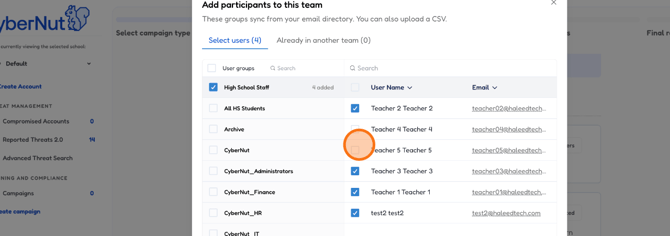
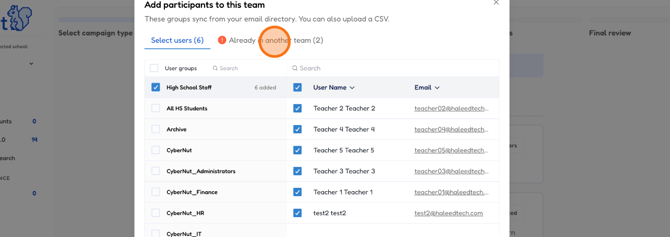
44. Click "Already in another team (2)" to see overlapping members.
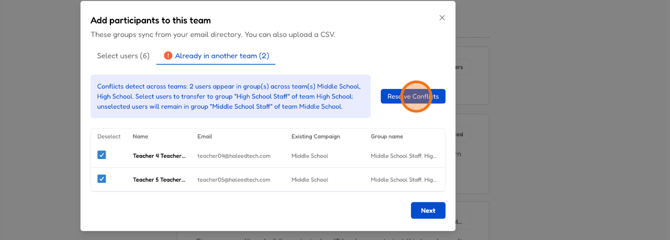
45. Click "Resolve Conflicts" to fix any team overlaps.
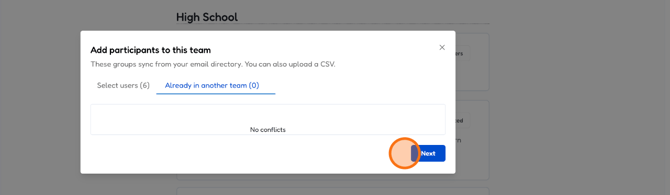
46. Click "Next" to move on.
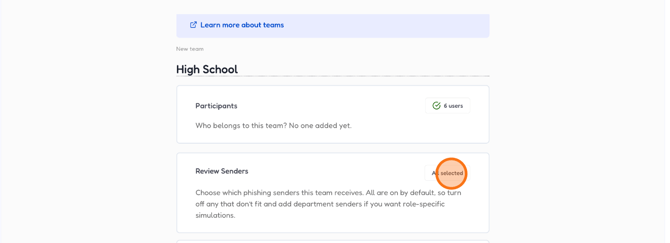
47. Click "All selected" to include all sender templates.
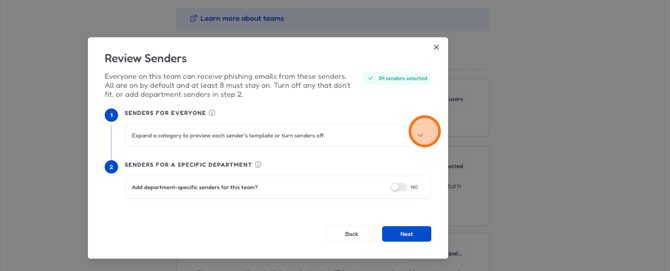
48. Expand a category to preview or disable specific senders.
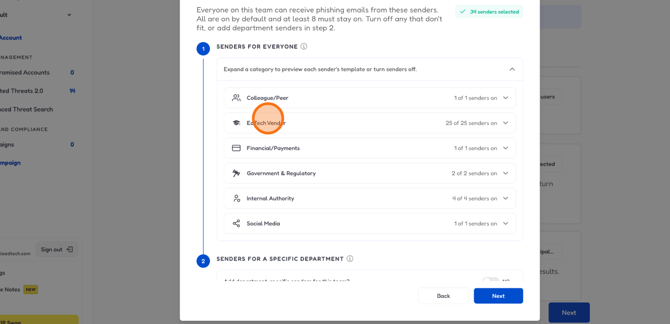
49. Here you will see the various senders. Select one of them to preview.
50. Click the button to toggle this sender.
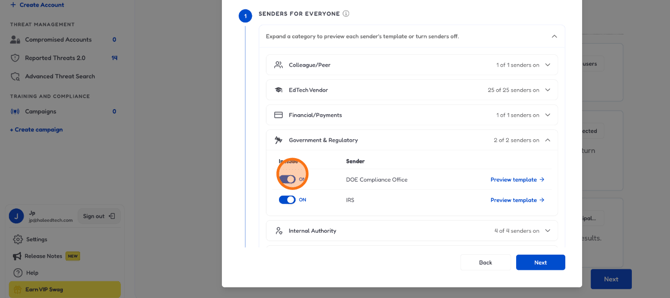
51. Enable this option to view specific email templates for departments. This is optional.
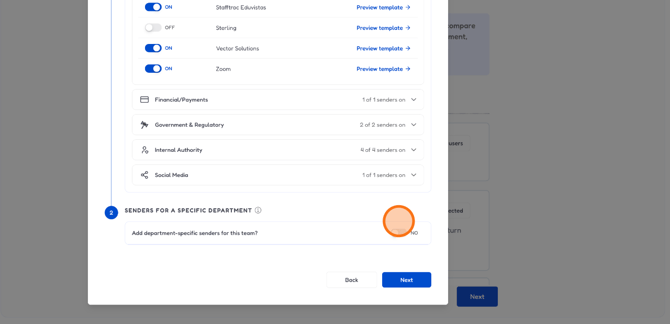
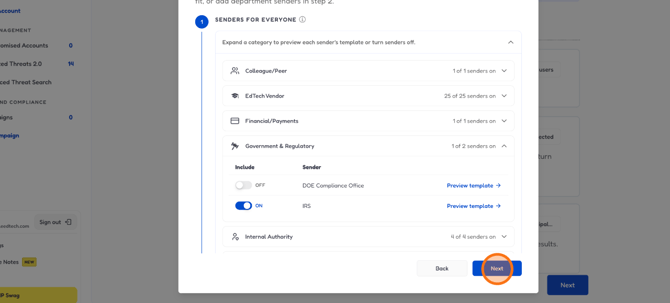
52. Click "Next" to keep going.
53. Select "HS Principal" if the Team Captain needs to be updated.
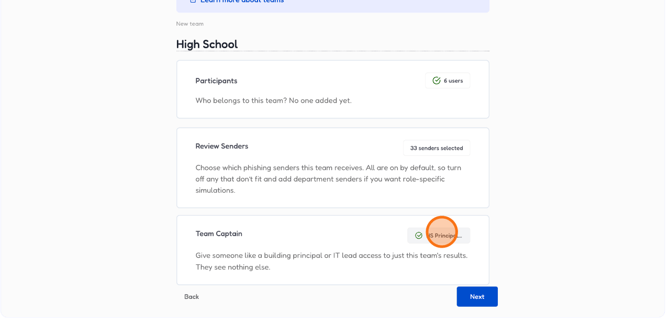
54. Choose your option here.
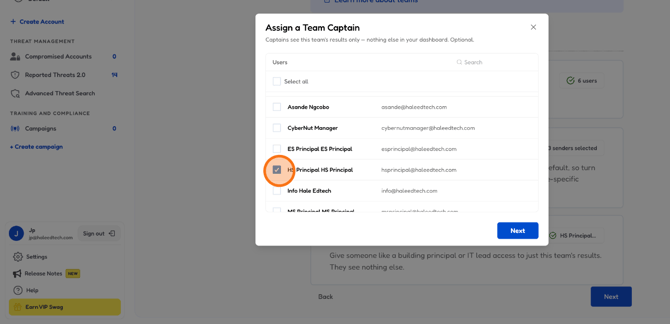
55. Click "Next" to proceed.
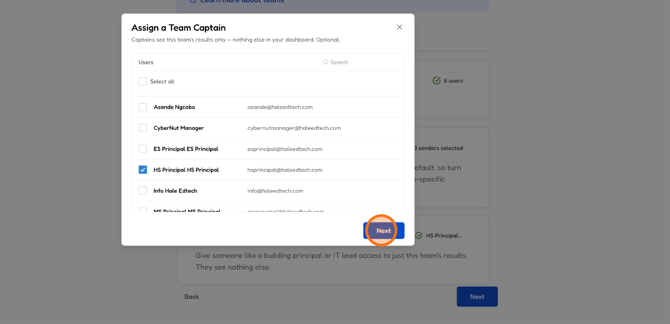
56. Click "Next" to continue.
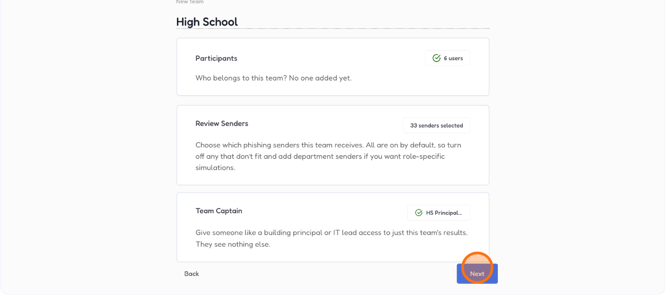
57. Click "Next" to advance further.
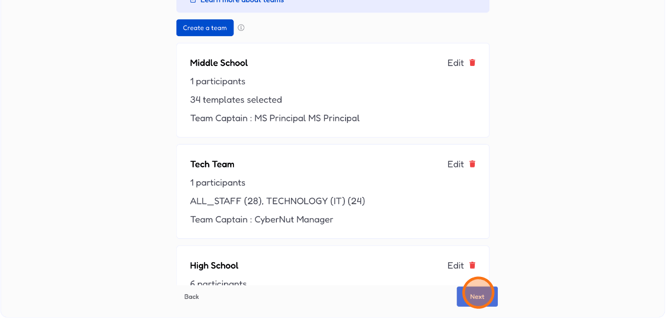
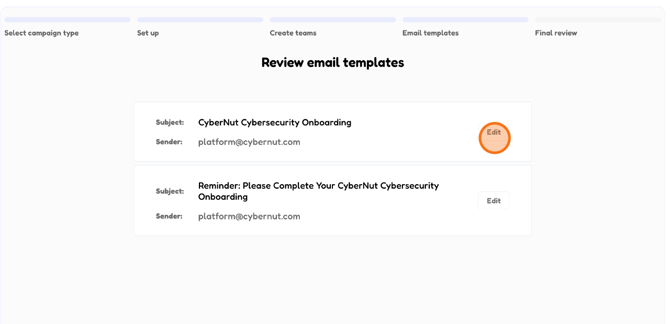
58. Click "Edit" to customize your onboarding email announcing the campaign has begun.
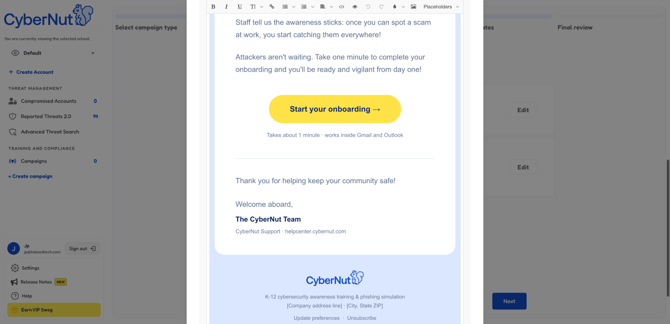
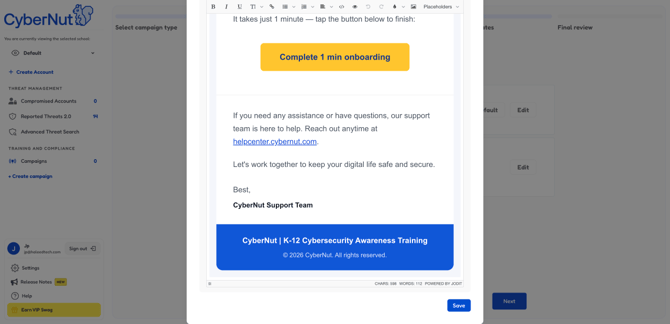
59. Customize the onboarding email as needed.
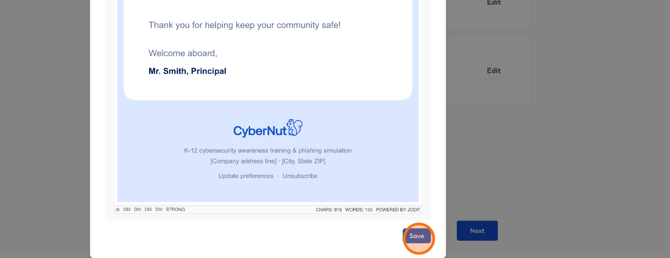
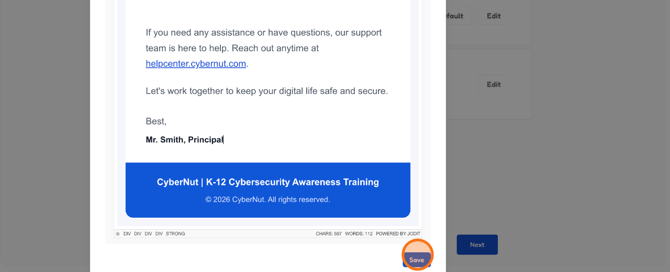
60. Click "Save" to lock in your changes.
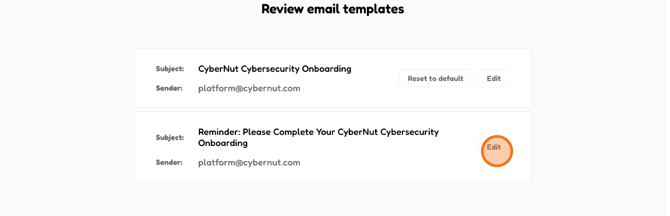
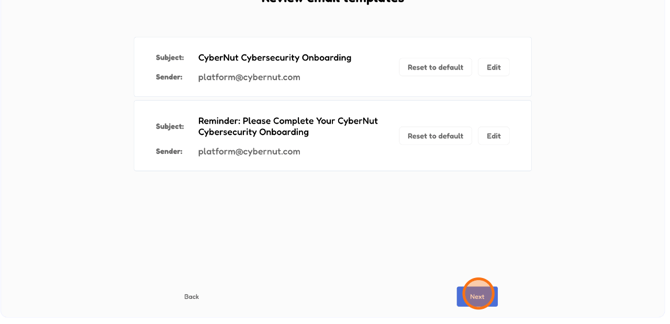
61. Click "Edit" to customize your onboarding reminder email.
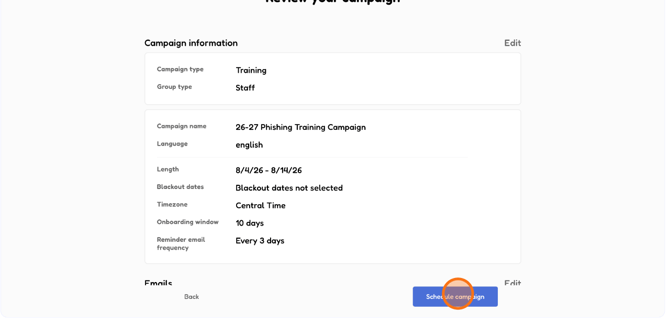
62. Customize your reminder email as needed.
63. Click "Save" to apply your updates.
64. Click "Next" to move toward launch.
65. Click "Schedule campaign" to queue it up and go live.
66. Congratulations!
That's how you build a phishing training campaign.