Click below for a full screen walkthrough video.
▶️ Configuring Single Sign On with Google Workspace
Part 1: Add a CyberNut Group
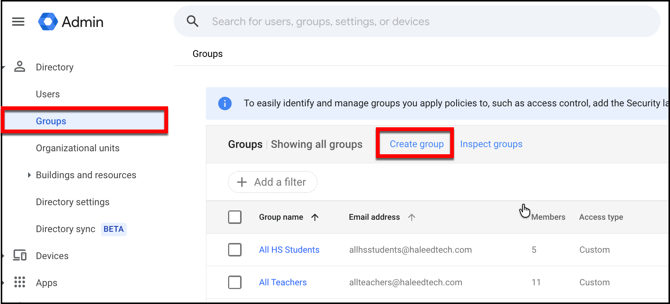
Step 1: Create a Google directory group in the Google Admin Console.
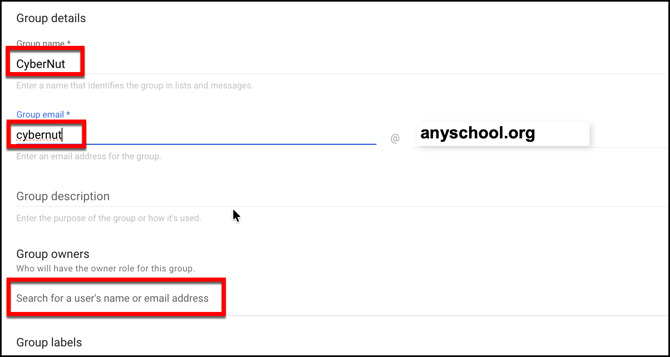
Step 2: Name the group CyberNut. Set the group email as CyberNut. Add any admins that need access to the CyberNut dashboard to the Group Owners. Click Next.
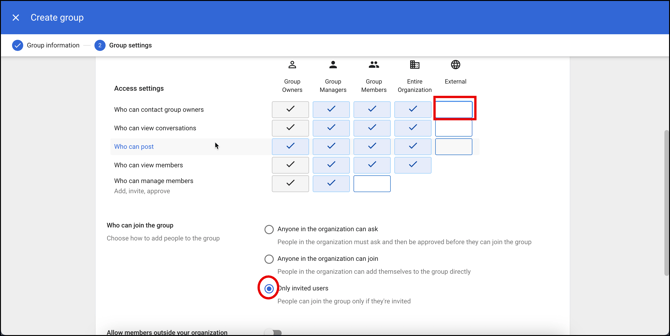
Step 3: Uncheck External, select only invited users. Then click Create Group. (Make the groups more restrictive if desired.)
Part 2: Add a Custom SAML App
Step 1: Navigate to Apps, then Web and mobile apps. Click Add app>Add custom SAML app.
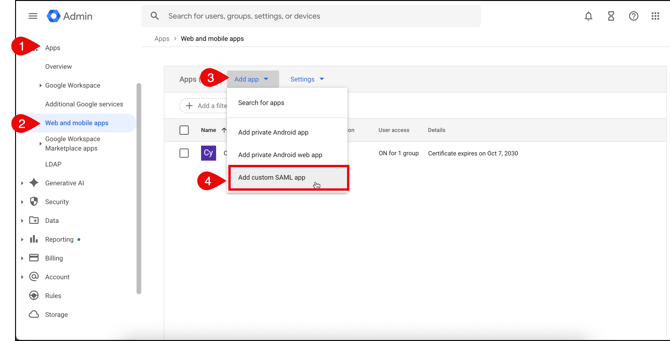
Step 2: Enter CyberNut SSO for the name and description. Click Continue.
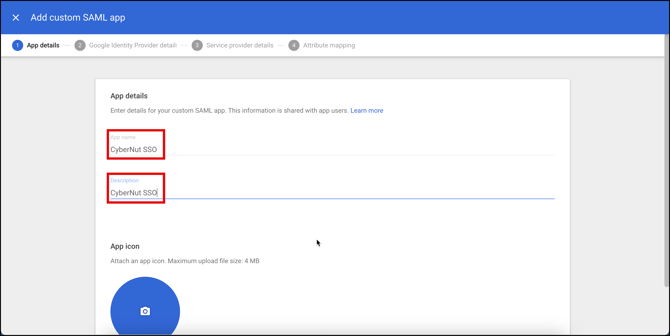
Step 3: Click DOWNLOAD METADATA and save it to use later in the CyberNut Admin Portal.
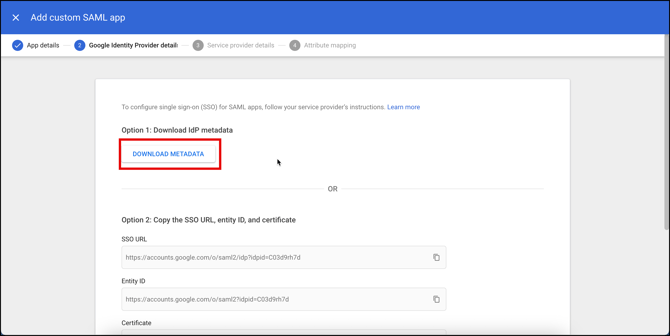
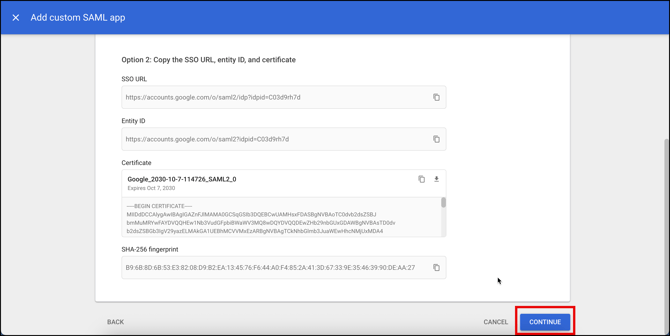
Step 4: Click Continue to proceed to the next step. (Make sure the certificate is not expired. If it is, generate a new one.)
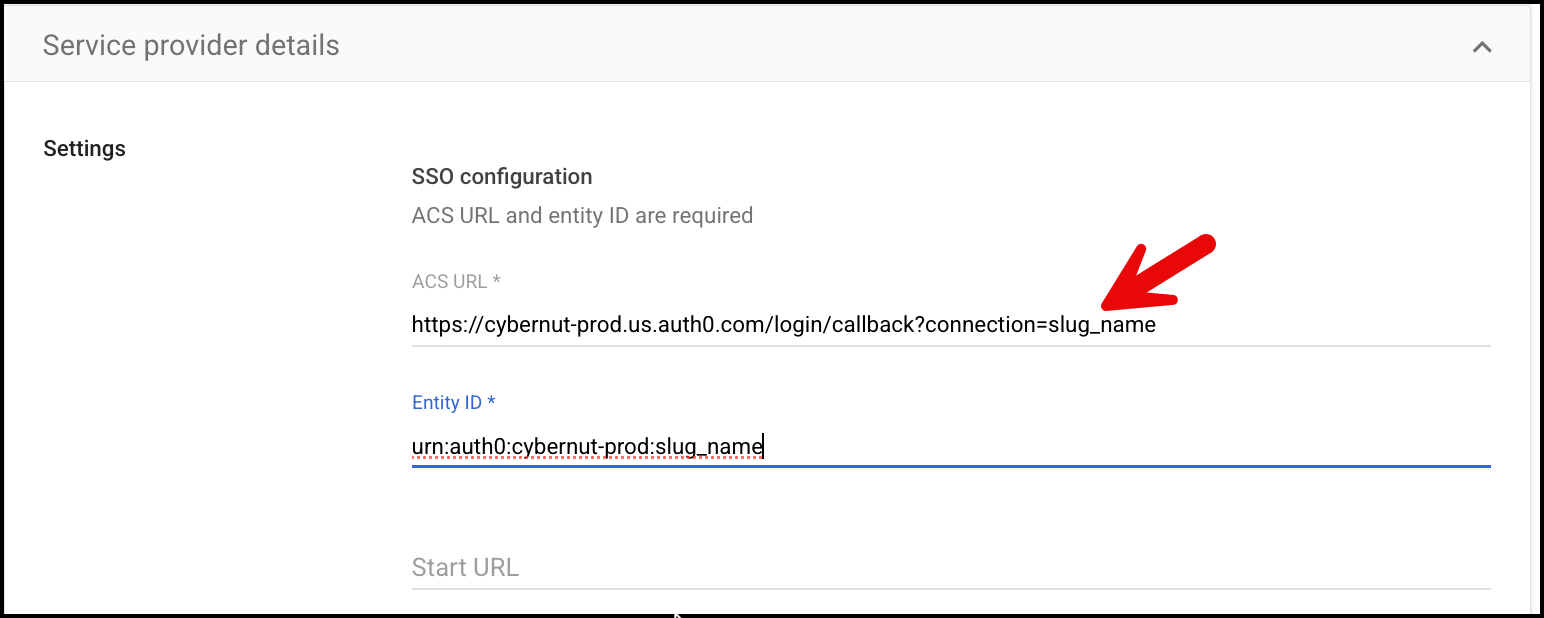
Step 5: Add the ACS URL: https://cybernut-prod.us.auth0.com/login/callback?connection=slug_name.
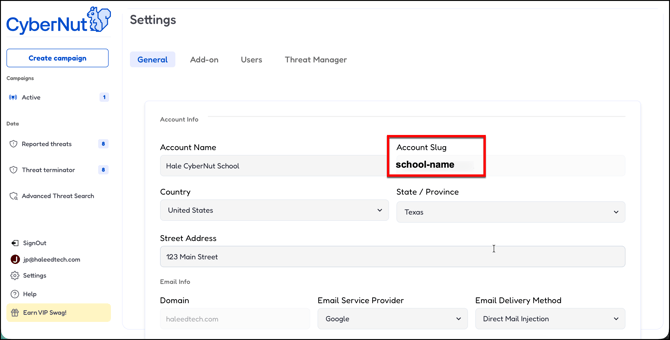
Replace the slug name with the slug found in CyberNut under Settings>General.
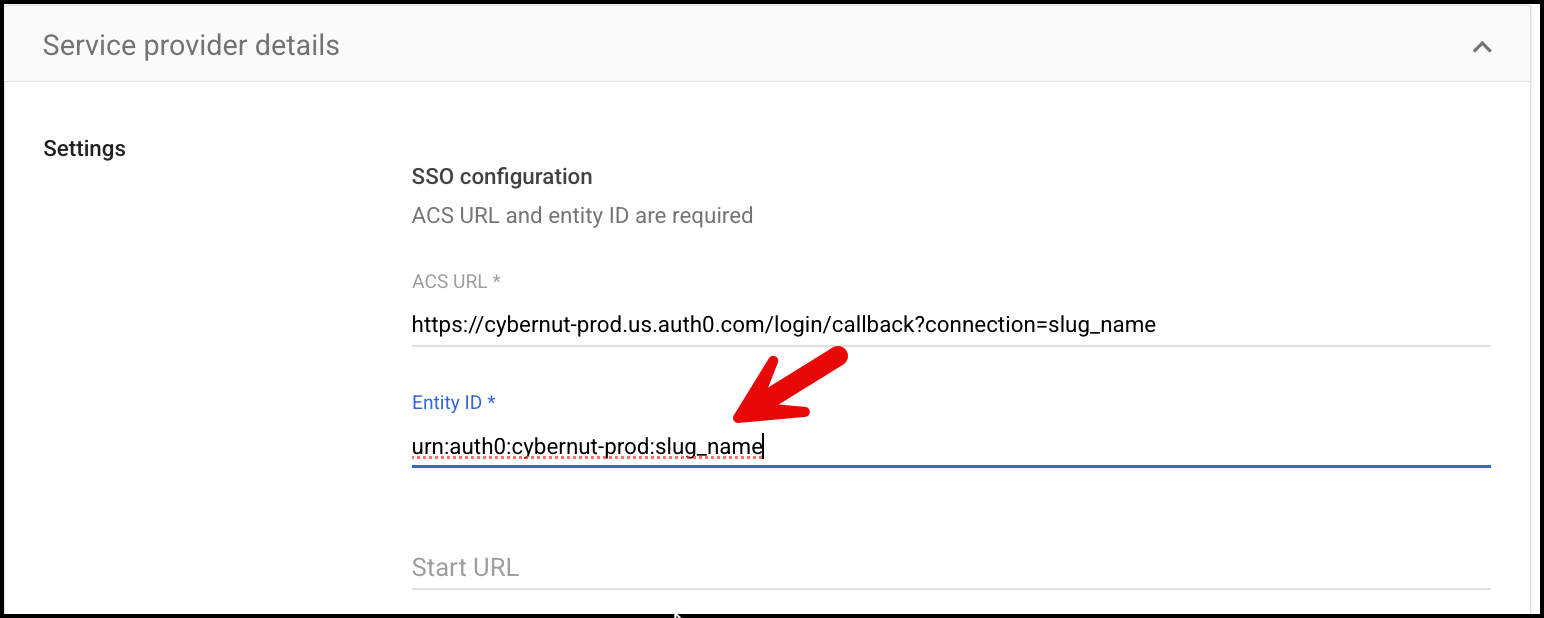
Step 6: Add the Entity ID: urn:auth0:cybernut-prod:slug_name
Replace the slug name with the slug found in CyberNut under Settings>General.
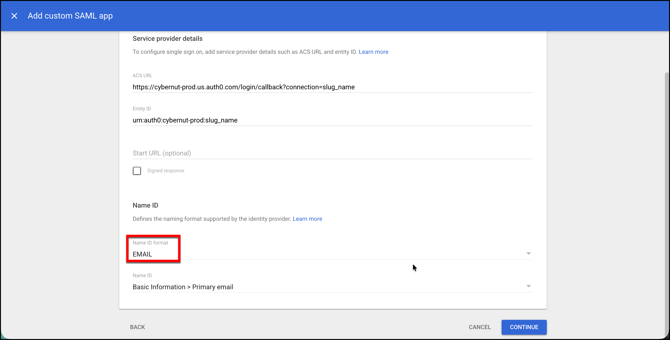
Step 7: Change the Name ID format to EMAIL. Click Continue.
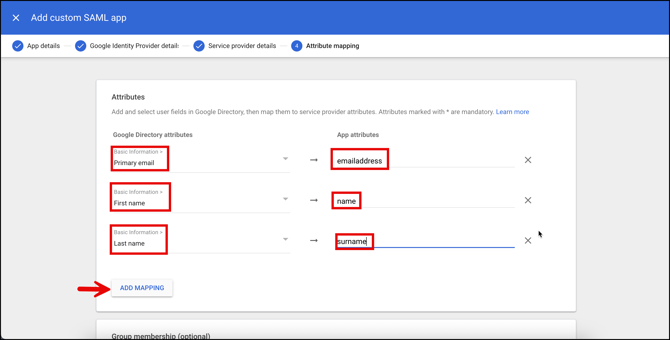
Step 8: Click Add Mapping button 3 times.. Then select the following options.
-
Google Directory attribute: Primary email
App attribute: emailaddress -
Google Directory attribute: First name
App attribute: name -
Google Directory attribute: Last name
App attribute: surname -
Then click Finish.
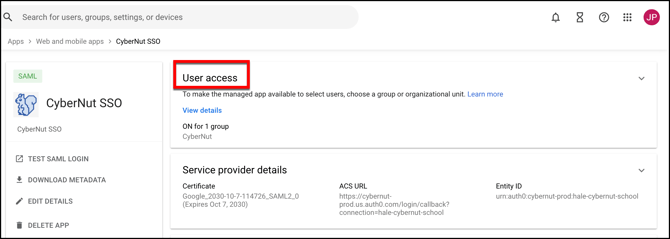
Step 9: Click on User access.
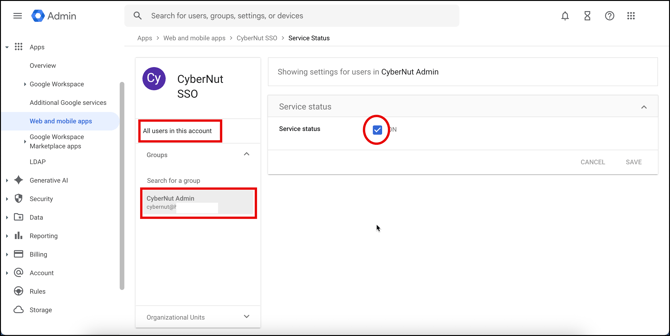
Step 10: Search for the group named Cybernut and select it.. Set the service to ON and click Save.
Step 11: Visit https://admin.cybernut.com and click Settings in the bottom left corner.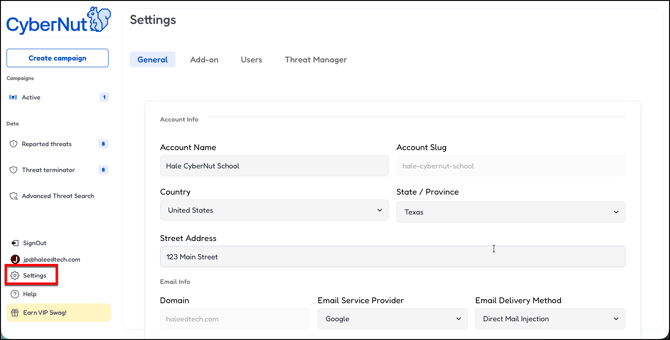
Step 12: Confirm the slug name matches what was used in the ACS URL and Entity ID.
Step 13: Click the Users tab.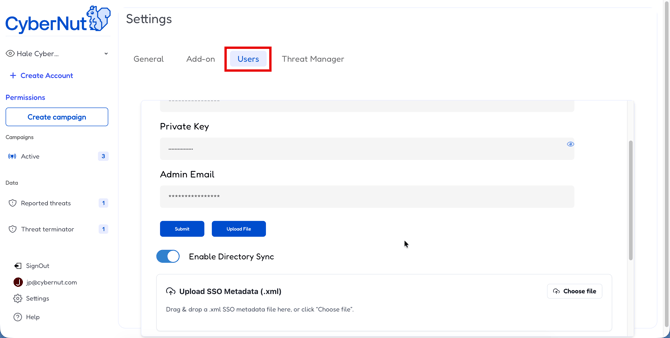
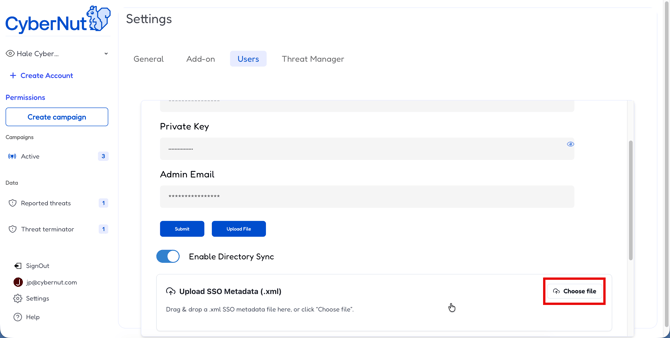
Step 13: Click Choose file and upload the SSO .xml file you downloaded earlier. (Note: may need to check the file for duplicate certificates and remove the first one.)