
Click below for a full screen walkthrough video.
▶️ Enabling Direct Mail Injection and Active Directory Sync for Microsoft
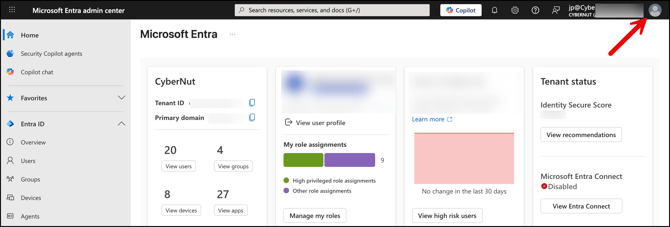
Step 1: Login to the Microsoft Entra at http://entra.microsoft.com using a Super Admin Account.
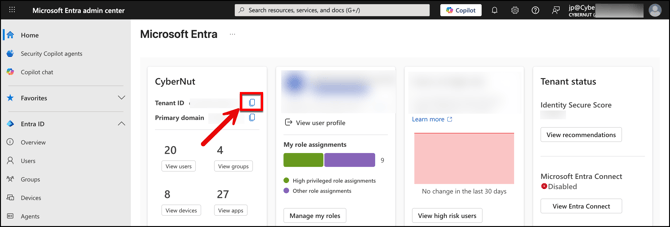
Step 2: Copy your 'Tenant ID' and keep it safe in a notepad file. Make sure you label it as 'Tenant ID'. After you save this, click on 'App Registrations' on the left side.
Note: You will use this value later in the CyberNut Admin Portal.
Step 3: Choose New registration and name this registration as 'CyberNut Admin'. Click 'Register' at the bottom when you're finished.

Step 4: Please copy the Application (Client) ID and retain this for future reference as you did earlier with the tenant ID.
Note: You will use this later in the CyberNut Admin Portal. It will be labeled Client ID.

Step 5: Navigate to Manage, click Certificates & Secrets and New client secret. Label this as CyberNut Admin again and click on 'Add'. (2 year expiry recommended)

Step 6: Click on Certificates & secrets. Copy the Value for the secret you just created and save this for future reference.
Note: We do not need the Secret ID field. Please ensure you have copied the Value field. You will use this value later in the CyberNut Admin Portal. It will be labeled Client Secret.

Step 7: Navigate to API permissions and click Add a permission.

Step 8: Select Microsoft Graph and then Application Permissions. 
Search for and add the following permissions:
Tip! Search for the the first portion of the permission and then click the arrows to locate the exact permission. (ex. search for Group and then click the arrow and select Group.Read.All)

Group.Read.All - Directory Sync
GroupMember.Read.All - Directory Sync
User.Read.All - Directory Sync
Mail.Send- Send Email
Mail.ReadWrite - Reported Threats Deletion & CyberNut Reporting Tool
Step 9:
- Click on 'Add a Permission' again.
- Select 'APIs my organization uses'.
- Search for 'Office 365 Exchange Online'.
- Choose 'Application Permissions'.
- Enable 'full_access_as_app' and 'Exchange.ManageAsApp' under 'Exchange'.
- Add the permissions when you are finished.
Exchange.ManageAsApp- CyberNut Reported Threats Blocking
full_access_as_app - Direct Mail Injection

Step 10: Click on Grant admin consent for CyberNut and click 'Yes' on the popup. Verify if your permissions are added and granted as in the image below.

Step 11: Visit http://admin.cybernut.com
Step 12: After you login click Settings in the bottom left corner. Confirm that Microsoft and Direct Mail Injection is selected and click Save.

Step 13: Click the Users tab and add your Application (Client ID), Client Secret and Tenant ID, into the CyberNut Admin Portal. Then click Submit.
