
Click below for a full screen walkthrough video.
▶️ Configuring Single Sign On for Microsoft
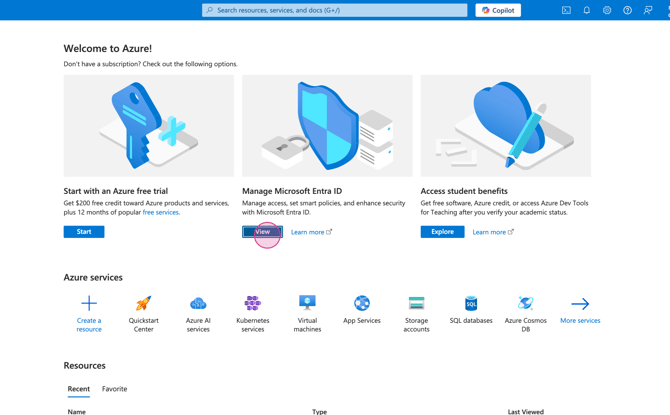
Step 1: Log in to the Microsoft Azure Portal with a Super Admin account at https://portal.azure.com. Then, click View under Manage Microsoft Entra ID.
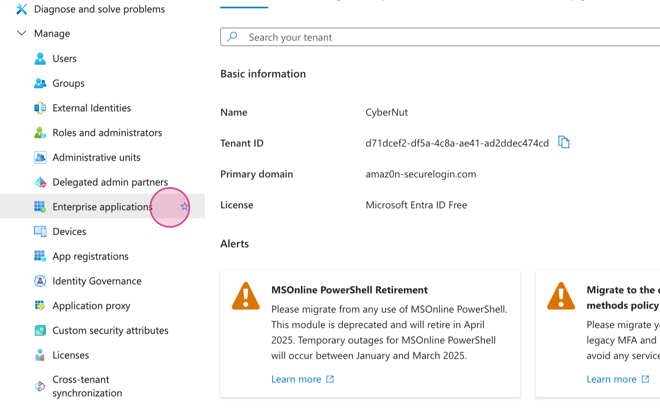
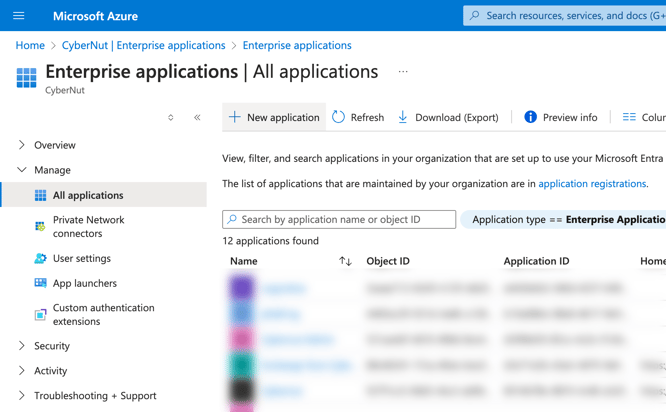
Step 2: Select Enterprise applications.
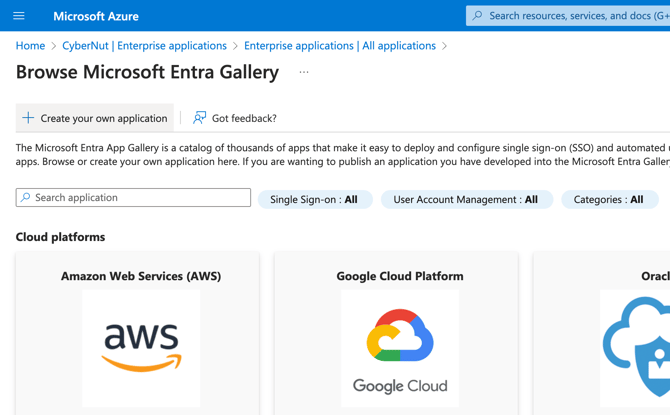
Step 3: Choose New application.
Step 4: Click Create your own application.
Step 5: Name the application: CyberNut SSO and click Create.
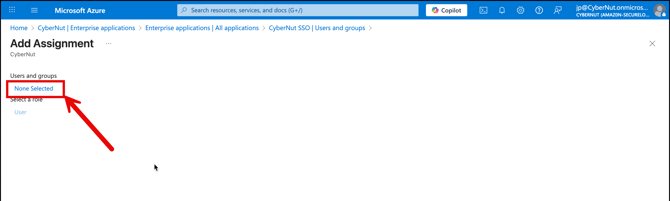
Step 6: Click on Assign users and groups.
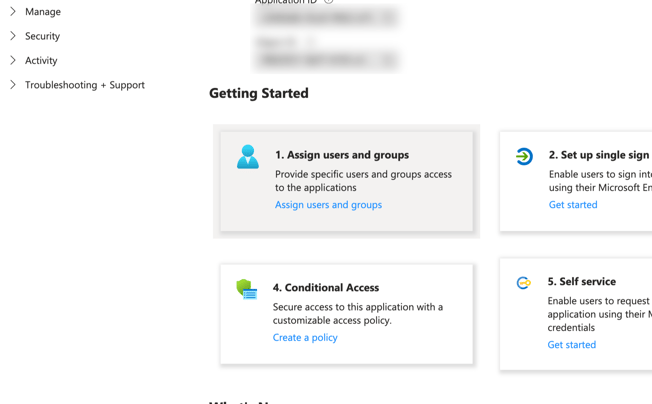
Step 7: Click on None Selected underneath Users.
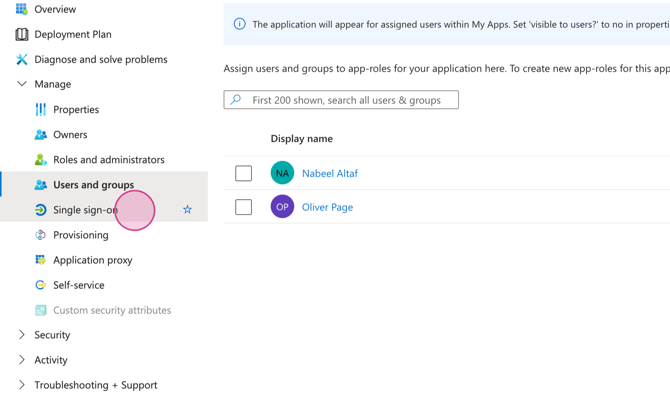
Step 8: Select the 'CyberNut Admins' group that was previously configured. If the school district's administrator has opted for an alternate group name, they should select the designated group intended to receive administrative dashboard access.
Note: Role permissions can be subsequently modified within the CyberNut admin dashboard.
Select the users who will be granted access to the CyberNut Admin Portal, and then click 'Assign' upon completion.
These users will be able to create, schedule, or view results of campaigns depending on their role permissions in the CyberNut Admin Portal.
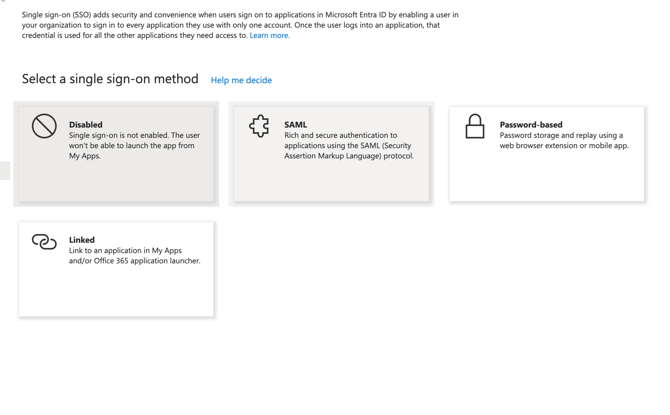
Step 9: After assigning administrative users, select Single sign-on.
Step 10: Choose SAML.
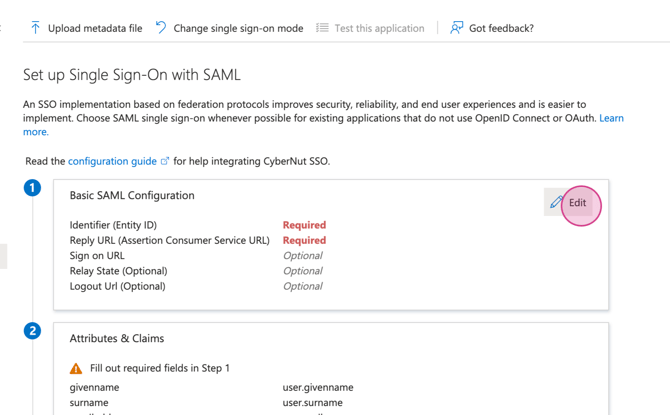
Step 11: Click on Edit for the first tile that says: Basic SAML Configuration.
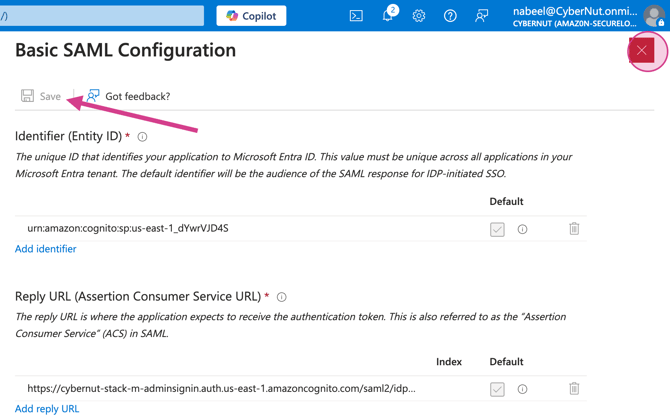
Step 12: Add an identifier and Reply URL and copy the following values:
Identifier (Entity ID):
urn:amazon:cognito:sp:us-east-1_dYwrVJD4SReply URL:
https://cybernut-stack-m-adminsignin.auth.us-east-1.amazoncognito.com/saml2/idpresponseOnce added, click Save and click on the Red X in the top right corner.
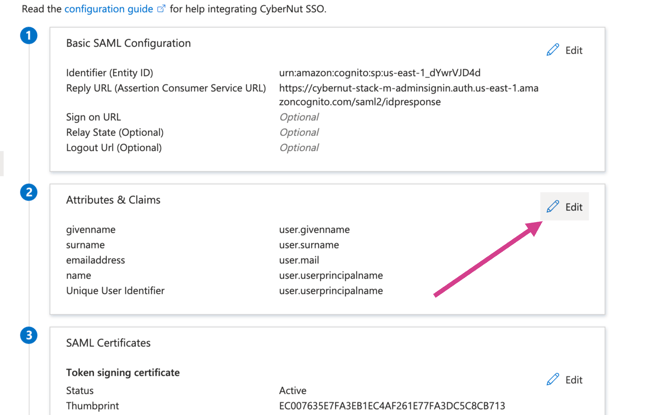
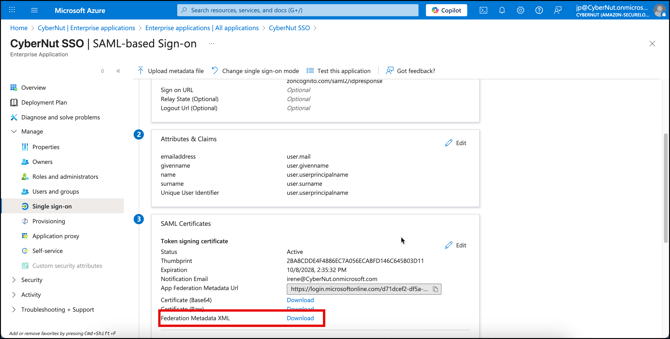
Step 13: Next, select Edit next to Attributes & Claims.
Step 14: Click each of the Additional Claims one at at time and delete the namespace and click Save.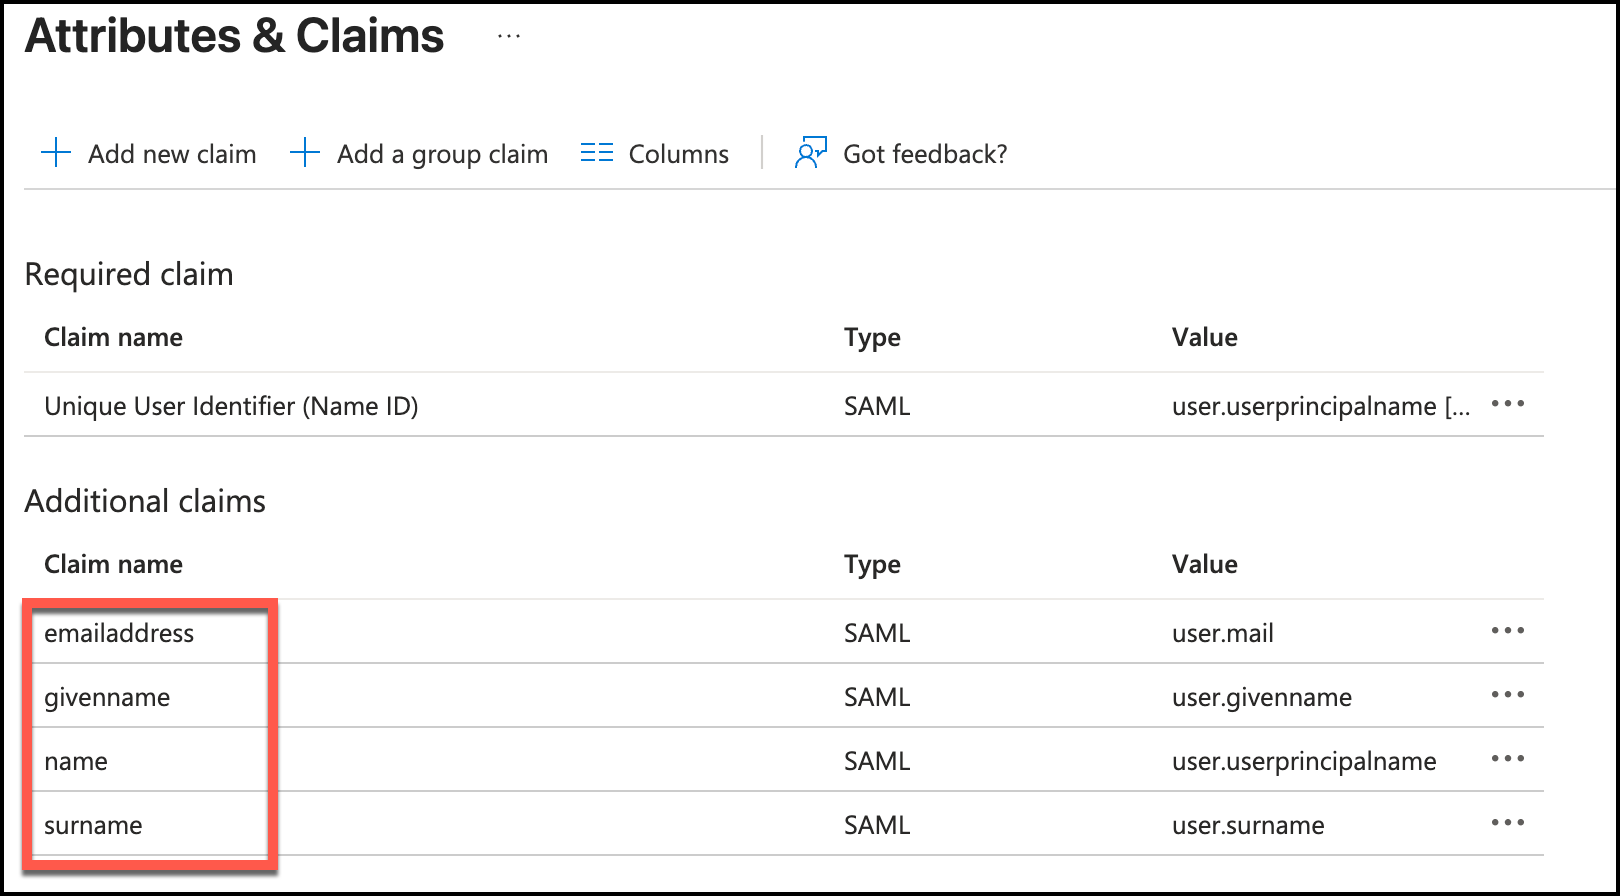
Here is an example for the emailaddress claim. Delete the Namespace and click Save. Repeat the process for givenname, name, and surname.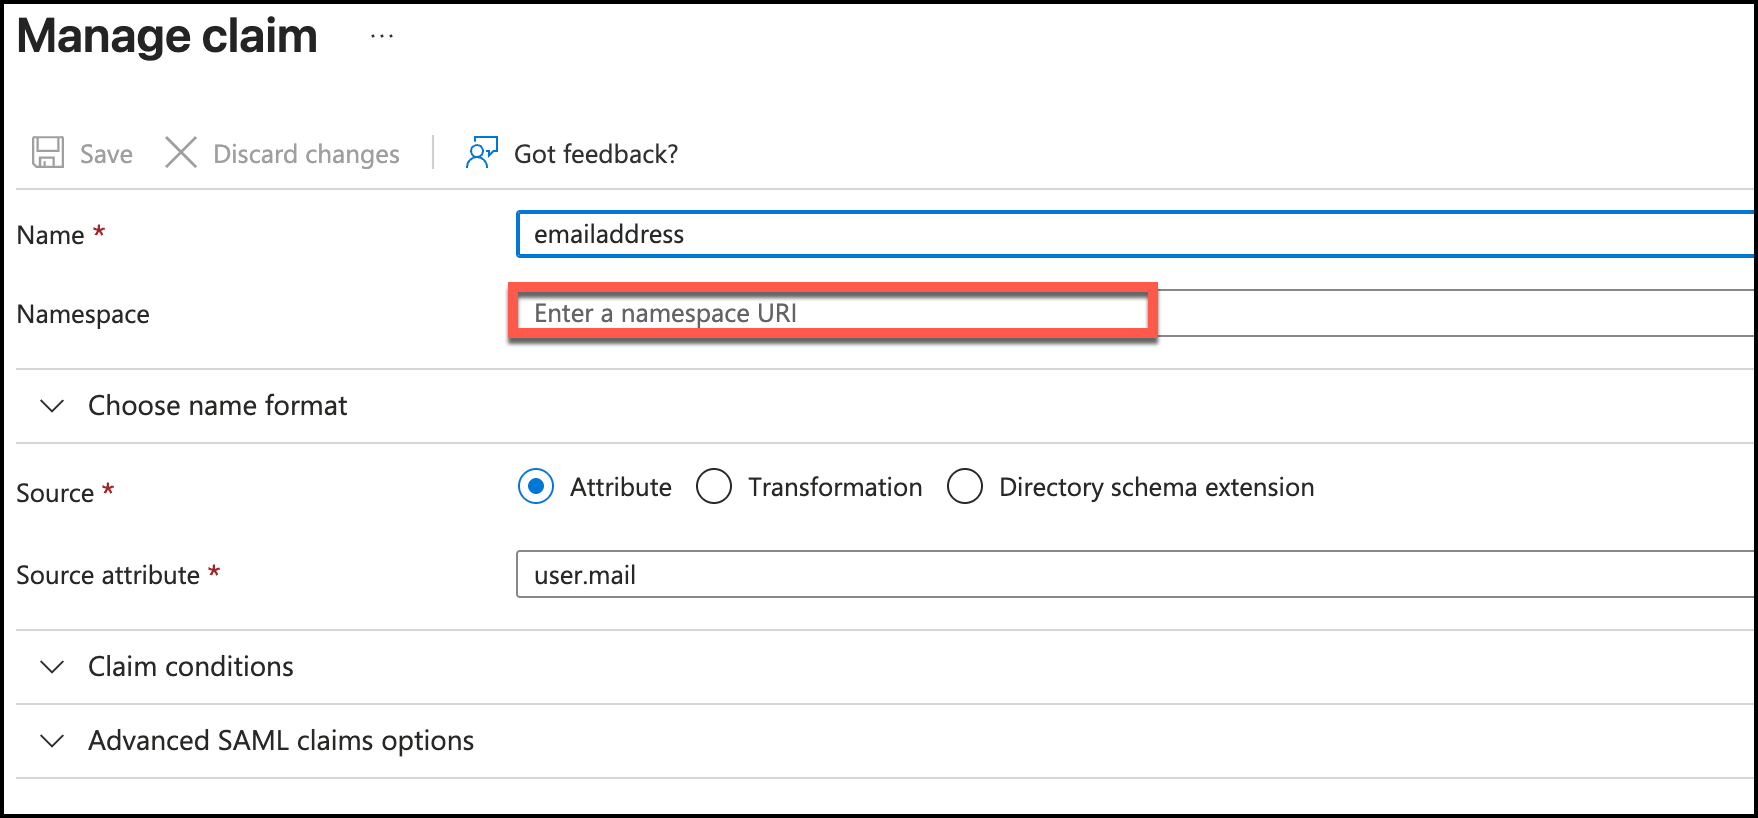
Once you're finished, the additional claims should look like this:

Step 15: Download the Federation Metadata XML and upload it to the following form: https://forms.monday.com/forms/c8c99904f59dbe390019963f12a1f8e4?r=use1
Please allow a 24-hour turnaround time for an engineer to process your metadata file. You'll receive an email with instructions on how to log in using SSO.